This is the story of one of my biggest maker projects to date: building my own multitouch table.
When I first saw the Microsoft PixelSense (formerly the Microsoft Surface), I knew I wanted my own. The table sized multitouch computer meant you could touch compute with all 10 fingers (20 if you had a friend!) while standing or ackwardly hunched over a coffee table. I was gonna be all cyber.
Unfortunately, the cheapest one started at $10,000 USD. I was crest-fallen, but then hope came in the form of the forums of Nuigroup.com. Through Nuigroup, I found Peau and his magic shop of Multitouch sacred technology peauproductions.com. Through Peau, I learned about the different ways of implementing multitouch and their various pros and cons.
There are 5 common methods: FTIR, Rear DI, LLP, DSI, LED-LP. This instructable includes videos from Peau explaining the difference between the methods and showing examples. I want to pause here to say that Frustrated Total Internal Reflection (FTIR) sounds like my love life before I met my wife.
I ended up choosing the Diffused Surface Illumination (DSI) method as shown in this video.
I wanted to make a table with a 60″ display that stood at counter height. The purpose was make something I could dj with, do some collaborative web surfing, and set a drink on.
- MDF Wooded Support Frame
- Aluminum L Channel
- 8mm Infrared LED Ribbon
- 60 Watt Power Driver
- 36 x 56 inch ACRYLITE Endlighten L
- 36 x 56 inch ACRYLITE Rear Projection Grey 7D512 RP
- *Short throw* HD projector
- Dedicated PC (OSX/Windows. I would recommend windows as their are more MT apps.)
- 2 x PS3 cameras modified with adjustable fisheye lenses and infared filters.
Advantages of DSI
– Can detect objects, hover and fiduciaries
– Is pressure sensitive
– No hotspots
Disadvantages compared to other methods
– Expensive
– Difficult setup
– Recalibration required often.
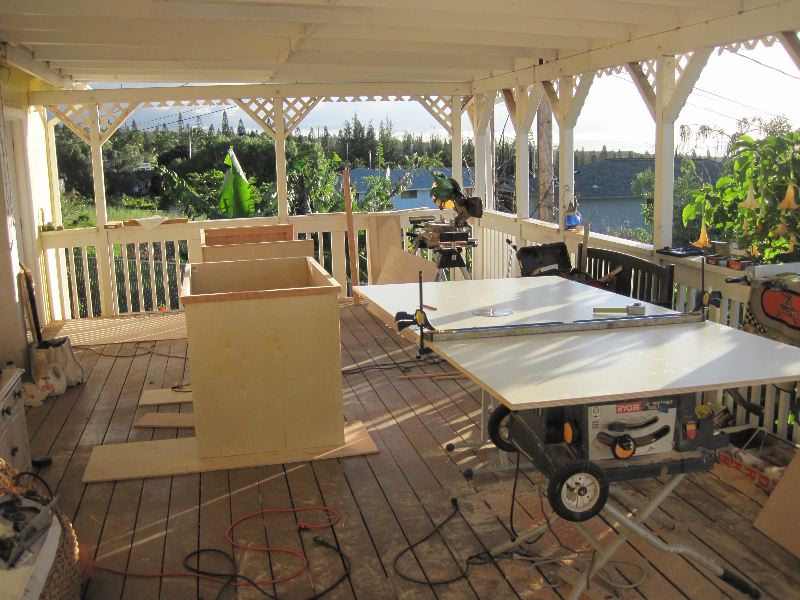
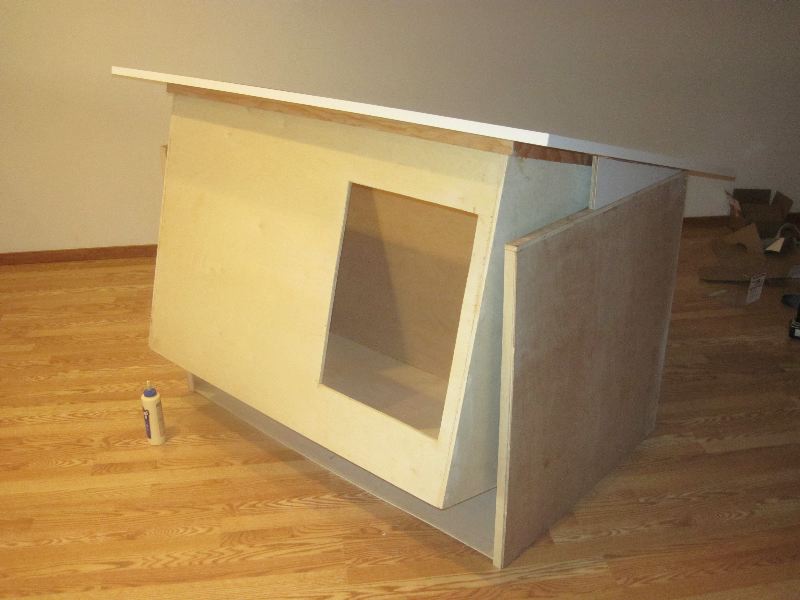
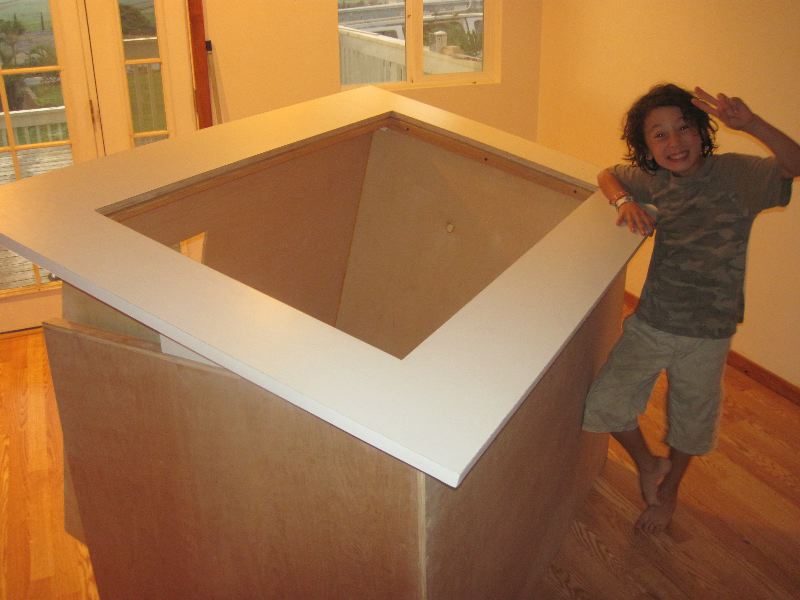
After ordering the parts, I worked with my friend to build a set of nested boxes.
Once assembled with a hinge on one end, the table could lie flat or rotate 90 degrees horizontally. In this photo you can see the opening we added to get access to the internals. There is also a wedge that we added to keep it at a certain angle.
The capentry is done at this point. This is before painting and prior to installing the infared led frame and acrylic.
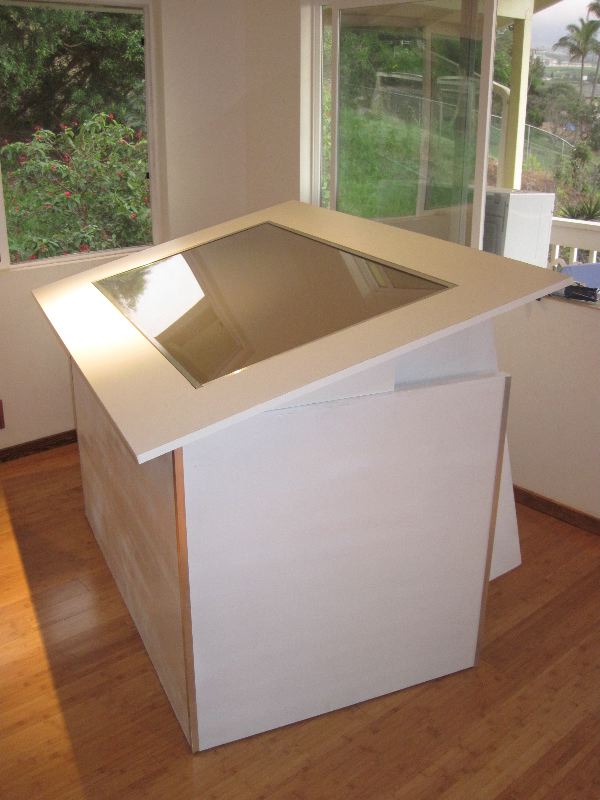
Here is the completed table. We added metal protectors on the edges.
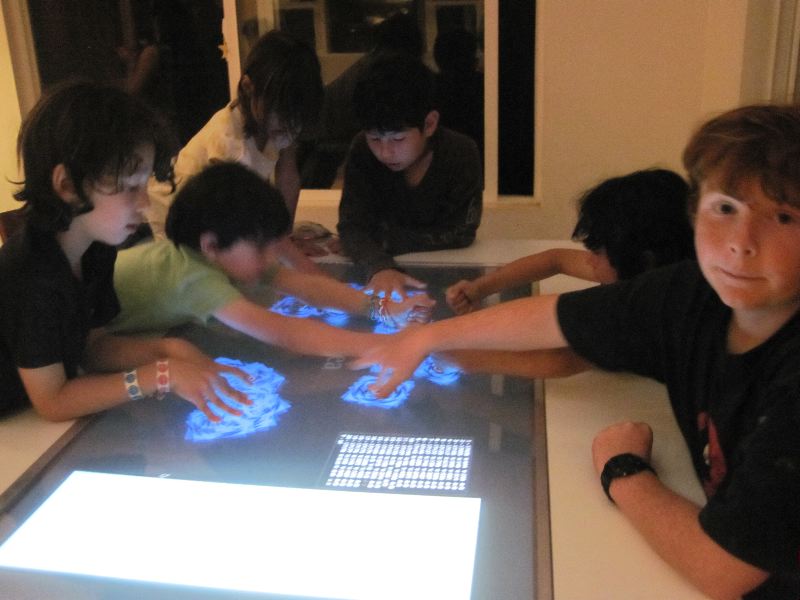
One of the real benefits of this approach is the number of simultaneous inputs or touchs you can have at the same time. My second table used a purchased infrared sensor frame that could only read 10 inputs at once. Additional touches would do unrecognized.
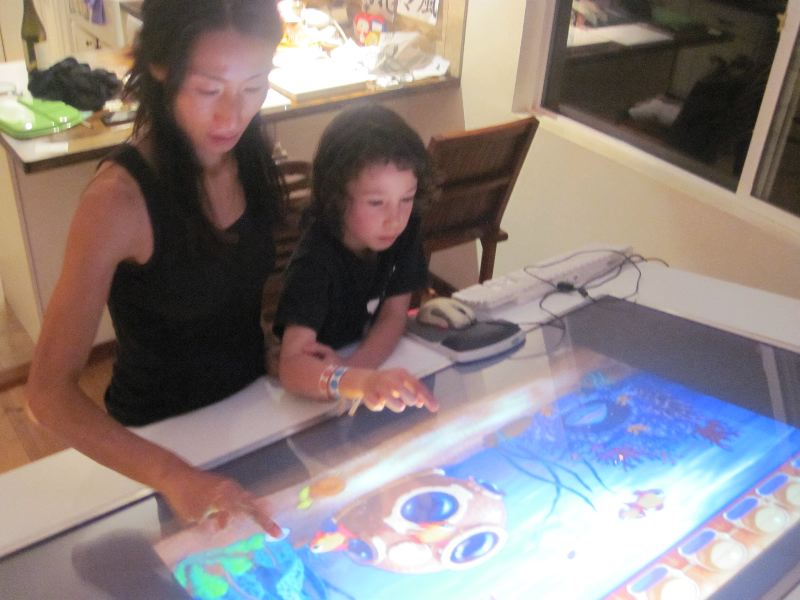
There is practically no desktop OS software available for multitouch as few people have devices like this. However, some simple games such as Popcap Games Insaniquarium here work well without being made with explicit support. Sadly there is no way to get iOS apps working with a table. However, you can run Android apps with BlueStacks.
Post-mortem:
- It should not have been 60″. 42″ would be fine for two people.
- At this size, I actually had to take it apart to move it through a door. It wasn’t portable so I couldn’t dj with it.
- The size of the display relative to the table made it difficult to project at full size.
- Ultimately, the size of the table became a problem in our living room and was redundant after I made my next touch table. If I had a rec room, this would not have been a problem. I eventually donated the table to the Wisdom Center for Autism where children with developmental challenges are using it.
- I would recommend LED-LP over DSI. In fact, I chose to use this LED-LP in my second table. LED-LP isn’t as accurate because it doesn’t actually trigger when you touch the surface but when you cross a light plane made of infared light a 5-6 millimeters above the glass. However, you can use LED-LP outside and it’s more portable. It’s cheaper. It doesn’t require as much calibration. Ultimately, the best solution for a proper installation would be using touch foil or actually buying a Samsung SUR40 with Microsoft PixelSense ($5K USD) for a fixed table or a Smithson Martin Elite Lite IR ($5K USD) for a portable solution.
- There are not many multitouch applications that you can run after you build this thing. I had great aspirations to write my own but I found myself busy with web work.
- While OSX and Windows now fully support multitouch, it’s a tiring way to do surfing or multitouch computing because you use your whole arm instead of your rest. Maybe it’s actually a good thing that way.
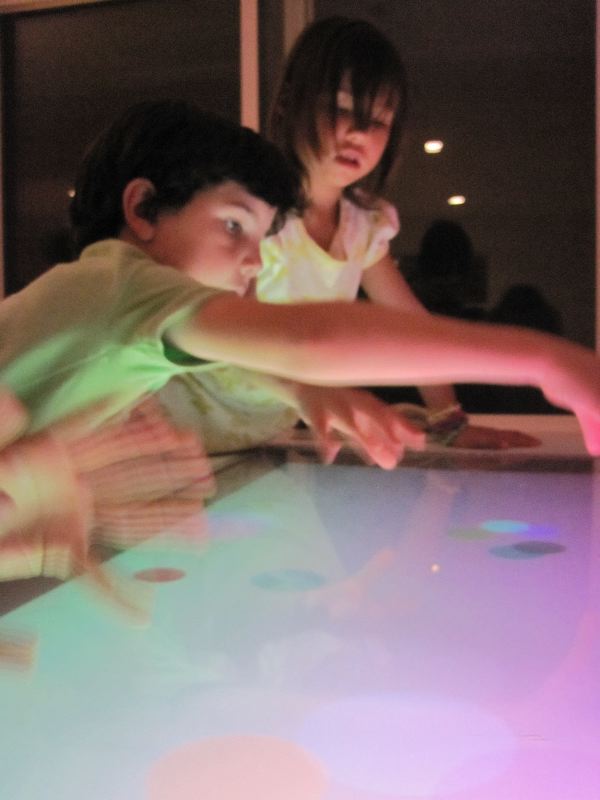
- The table was a huge hit at parties and got kids excited about technology. While I wasn’t able to dj with this table, I played out with my other table a lot.
Coming Soon: A post about my second table.